
Where to change settings and apply them
The project’s iOS graphics documentation places preferences under Settings, Apps, then the game app. Some builds also expose settings in the game. Fully close and reopen the game after changing a preference, then check the result.
Explicit Mac launch environment variables take precedence over saved preferences. If a UI change seems ineffective, check for remaining launch overrides. Change one option at a time and keep the scene, game version and device the same.
Start with resolution scale
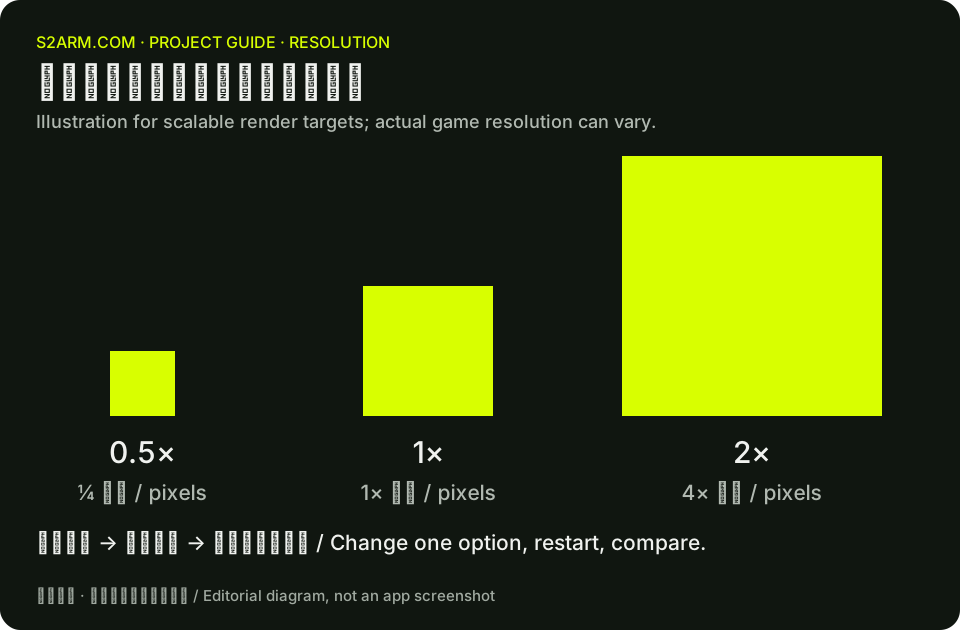
The documented scales are 0.5×, 0.75×, 1×, 1.5× and 2×, with 1× as the default. Scaling applies to eligible render targets; the game’s own dynamic resolution can still change actual dimensions.
A 2× scale produces roughly four times as many pixels for affected targets, increasing graphics work and memory pressure. For sustained frame drops or heat, return to 1× or try 0.75× in the same scene. Lower resolution is not a general fix for black screens or texture bugs.
Choose antialiasing and the scaling filter
Additional antialiasing supports Off, SMAA Medium and SMAA High. Turning this processing off does not remove the game’s own antialiasing. SMAA processes the composed image and can soften text and fine detail.
The scaling filter can be Bilinear or Nearest. Bilinear is the default; Nearest preserves sharper pixel boundaries. Compare the actual image rather than treating one setting as suitable for every game.
A frame setting is a limit, not an unlock
The documented limits are 30, 60, 120 and unlimited. The game’s own 30 or 60 Hz pacing still applies. Selecting 120 does not turn a game locked to 30 fps into a 120 fps game; display refresh rate and runtime performance also matter.
On Mac, S2A_FPS=0 removes the additional cap. This site’s graphics tool only generates documented options. It does not patch game code or install a configuration onto your device.
export S2A_RES_SCALE=1
export S2A_ANTI_ALIASING=None
export S2A_SCALING_FILTER=Bilinear
export S2A_FPS=0