
Prepare your own account and device
An iPhone or iPad app must be signed before installation. The Mac workflow uses the Apple ID signed in to Xcode; the Windows workflow uses the bundled Impactor tool. Complete sign-in, two-factor verification and device trust yourself. This website does not accept account credentials.
If Xcode is signed in but reports no signing team, use the launcher’s signing guide project, select your Personal Team under Signing & Capabilities in Xcode, connect the device and run the project once. Only if a development certificate is missing, open Manage Certificates in Xcode account settings and add an Apple Development certificate. Check the account, team, certificate and device trust separately.
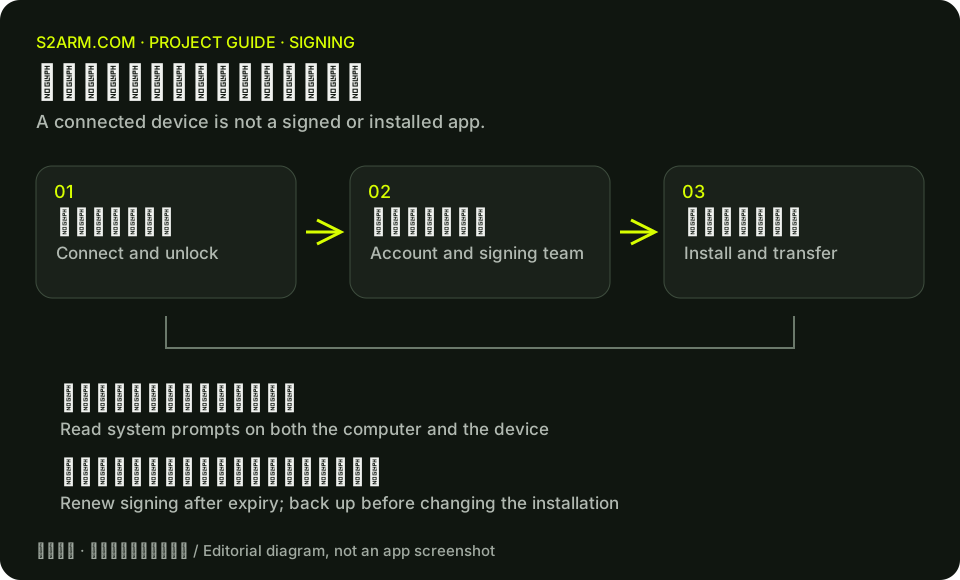
Complete signing and transfer in the installer
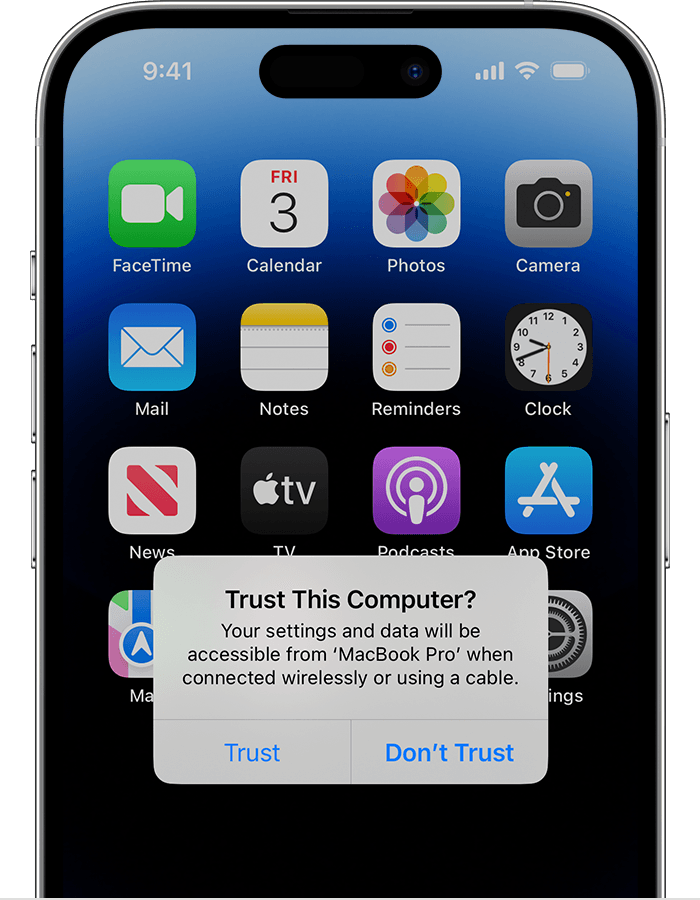
First confirm the iPhone export is complete. Connect only the one iPhone or iPad you intend to install on, unlock it, and complete Trust This Computer and Developer Mode requirements. Open Install on iPhone and follow account/device checks, signing, installation and resource transfer. Complete any first-time Keychain permission prompt on the Mac yourself. Keep the device connected and unlocked throughout.
Version 0.1.7 corrects a case where the computer could not launch the app and a completed resource transfer was reported as failed. If the new launcher asks you to open the app manually, do that on the device and then check resource import.
Renew expired signatures while retaining data
The project’s release notes state that apps signed with a free Apple ID normally expire after seven days and are subject to app-count limits. Current S2Arm builds put games in one app, so adding a game is different from installing another separately signed app.
Use the launcher’s installation flow to sign the app again after expiry. Expiration itself does not delete saves. Back up data before investigating a failure, and avoid uninstalling the app, which can remove data stored inside it.
Separate installation failure from game failure
Device detection, signing quotas, certificates, packages and resource transfer can each cause installation failures. Keep the exact stage and error code, resolve that stage first, and then investigate game compatibility.
The upstream v0.1.7 notes state that free-account quotas blocked their Windows end-to-end signing and device-installation test. That is neither proof that all Windows installations work nor proof that your particular installation will fail.